How to Style a Frame Wall
One of the easiest ways to add your own personal touch to decor is to create a frame wall.
Whether you choose to display photos of friends and family, a selection of favourite prints or even a combination of personal memories and artwork, a frame wall adds visual interest to a room. While the choice of images is important, the type of frames and how they are arranged on the wall can also change the overall look.
Discover our guide to putting together a frame wall for any room in the home.
Choose an overarching theme
When creating a frame wall, you may like to think of it as a gallery space in your home. Although you will need to work within the constraints of a room, there are still lots of opportunities to express your tastes in a way that complements the existing interior style.
You may want to build the frame wall around a theme—for example, curate your holiday or travel snaps, photos and sketches of landscapes and scenery, or even choose images that contain certain colours to create a cohesive effect. A wall of black and white photographs always looks chic and suits a minimal aesthetic. Or you may prefer to add colour and character via an eclectic, playful mix of magazine clippings, favourite pictures, children’s drawings and even quotes that inspire you or have special meaning.
Your frame wall could even be a display of your family’s certificates from school and university, sporting awards or musical achievements.
Consider the composition
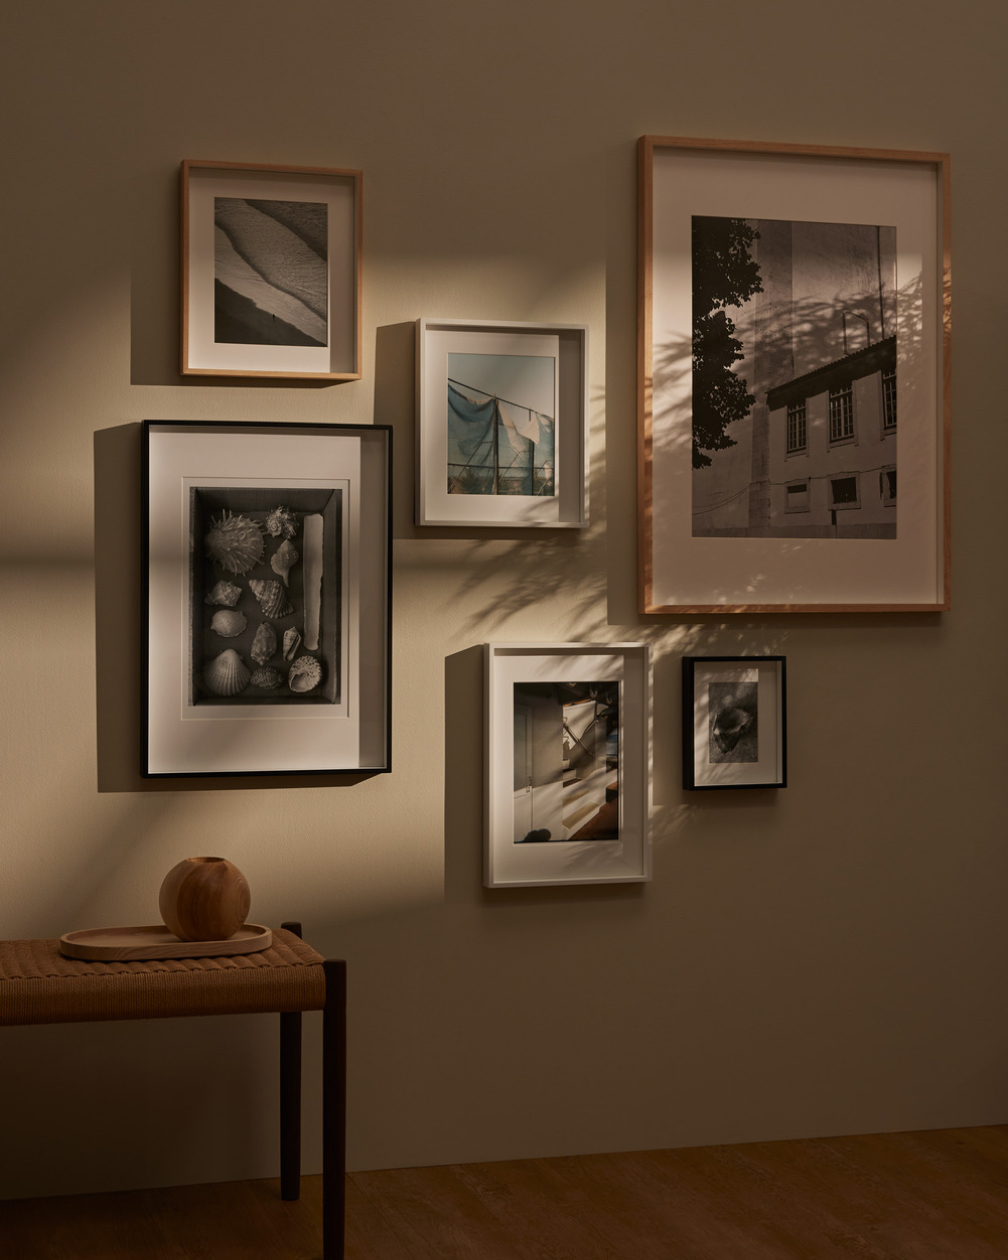
Once you’ve decided on the prints, images or photos you would like to display, think about possible ways to arrange the frames on the wall. For a neat, classic look, space frames of the same size and colour in rows with an even amount of space between them (from 30-50mm), or try grouping them in blocks of four. If the frames are different sizes and colours, you could still aim for regularity in spacing and positioning, but you may find that a more random approach is better. Try placing a large frame in the centre of the group with the smaller frames around it, or simply position frames of various shapes, sizes and colours in an arrangement that appeals to you.
Perfect the placement
Mix and match the sizes and colours of the frames to create interest. Even if you use frames that are all the same size and colour, you may like to group them in interesting ways by positioning them at different levels or at different distances from each other.
Remember that you can change the content of the frames to suit your mood or reflect seasonal colours. Just as you might switch the colours and materials of throws and cushions in the living area as the seasons change, you can choose imagery in russet, plum and brown tones as the weather cools, or swap in bright tones to evoke a sunny mood in the summer.
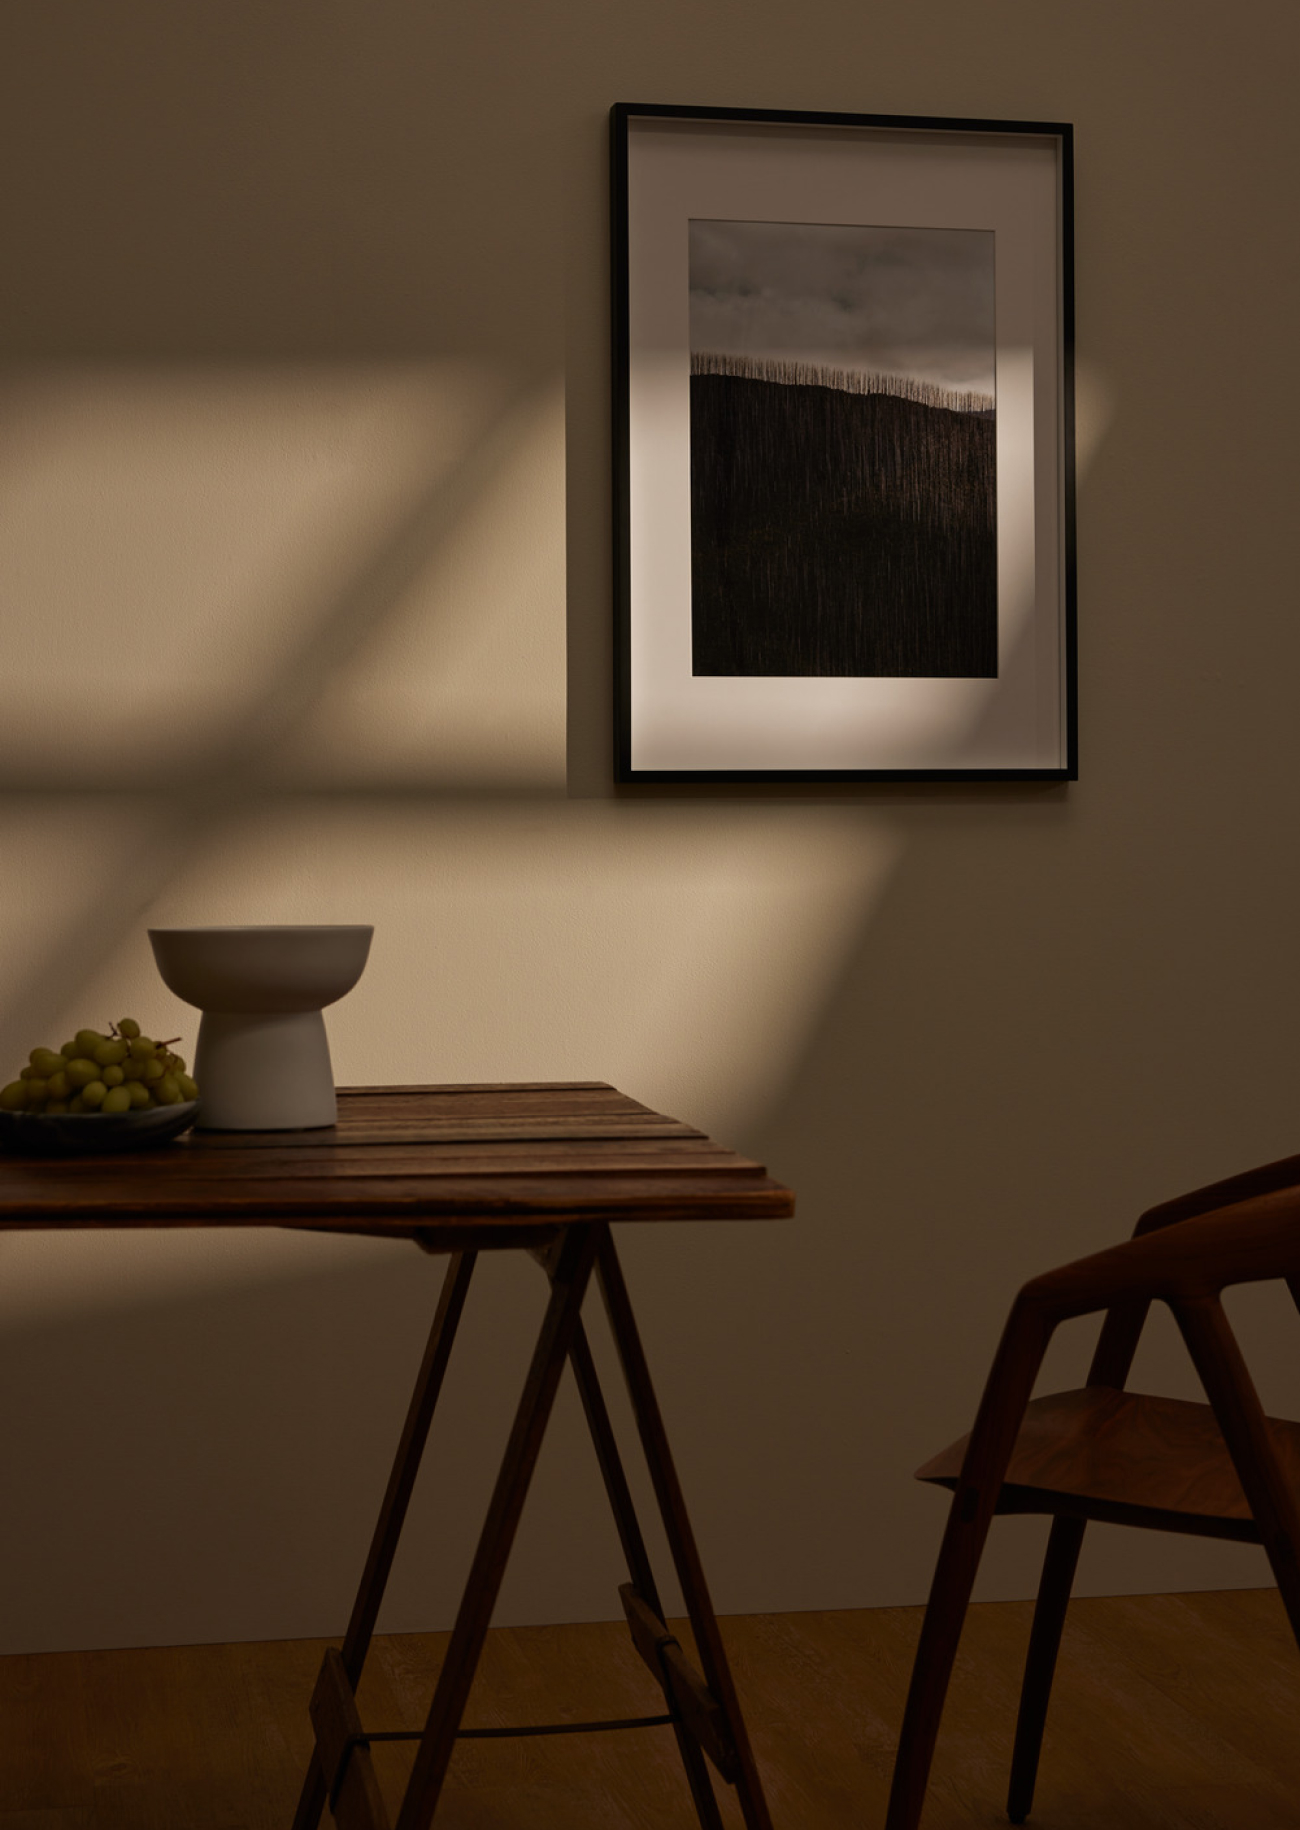
The colour of the frames also affects the overall look when creating a frame wall. Keep things light and streamlined with white frames, or use natural or stained timber styles for a neat but warm effect. Plain, simple frames work well to highlight whatever you choose to put on display, whereas more ornate designs can work as a feature.
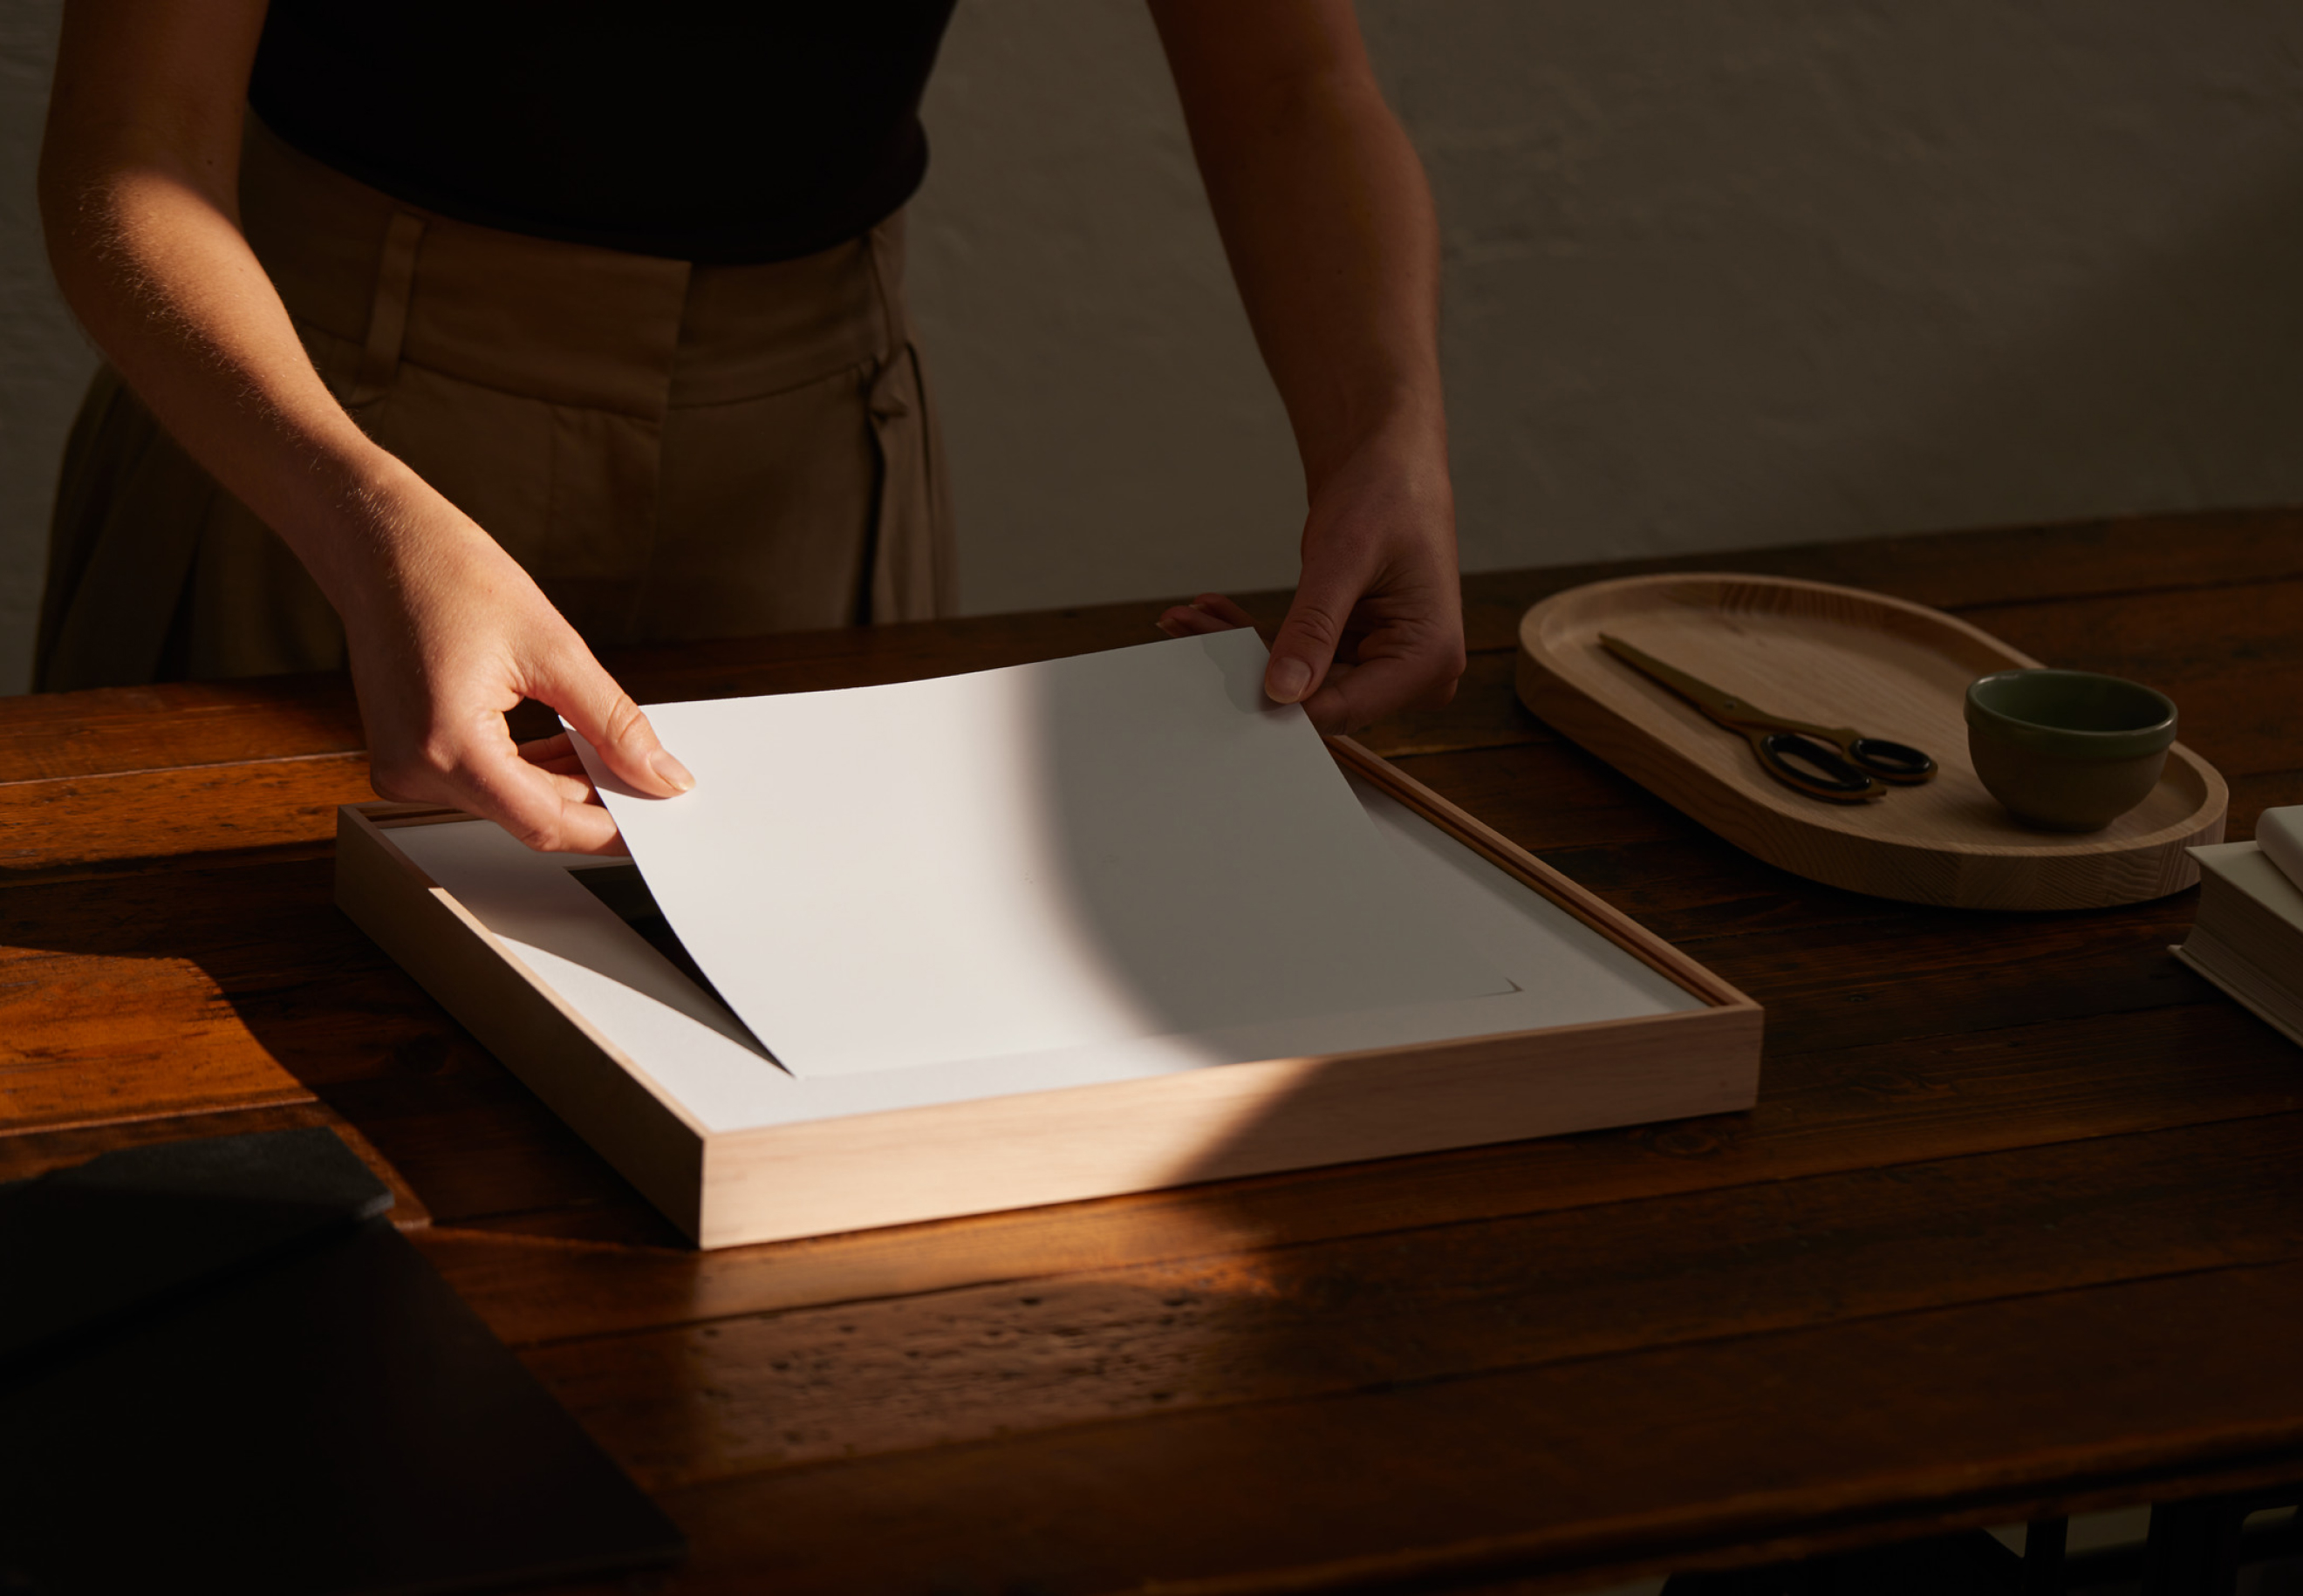
Our Adler Frame arrives with a white mountboard to create a clean, focused appearance, but it’s easy to instantly change the look of the frame—and the image it contains—by removing it. This allows for a larger image to be displayed as it can fill the entire frame rather than being constrained by the white border.
If you’re new to hanging frames or creating a whole wall of them, it helps to have a plan and the right tools. Here are some steps to help you achieve a gallery to enhance your space—no matter the size.
What you need
- Spirit level
- Tape measure
- Hooks and nails or 3M velcro tabs
- Selection of prints, photographs or drawings
- Selection of frames
- Masking tape
- Scissors
- Roll of paper or sheets of butcher’s paper
- Pencil
The steps
- Trace outlines of the frames onto paper and cut out each shape
- Measure the distance between the hook and top of the frame, marking the measurements on your cut-out paper. Make sure you mark the point where the hook on the back of the frame will come into contact with the nail or picture hook on the wall.
- Tape the cut-out paper shapes onto your wall with masking tape in whichever configuration you like. Take time to arrange the shapes—step back and look at the overall effect, repositioning the shapes if necessary.
- Once you’re satisfied with the arrangement, hammer in picture hooks or nails so that they sit on the marks on the paper. Pull away the paper so that the hooks or nails are left in the wall.
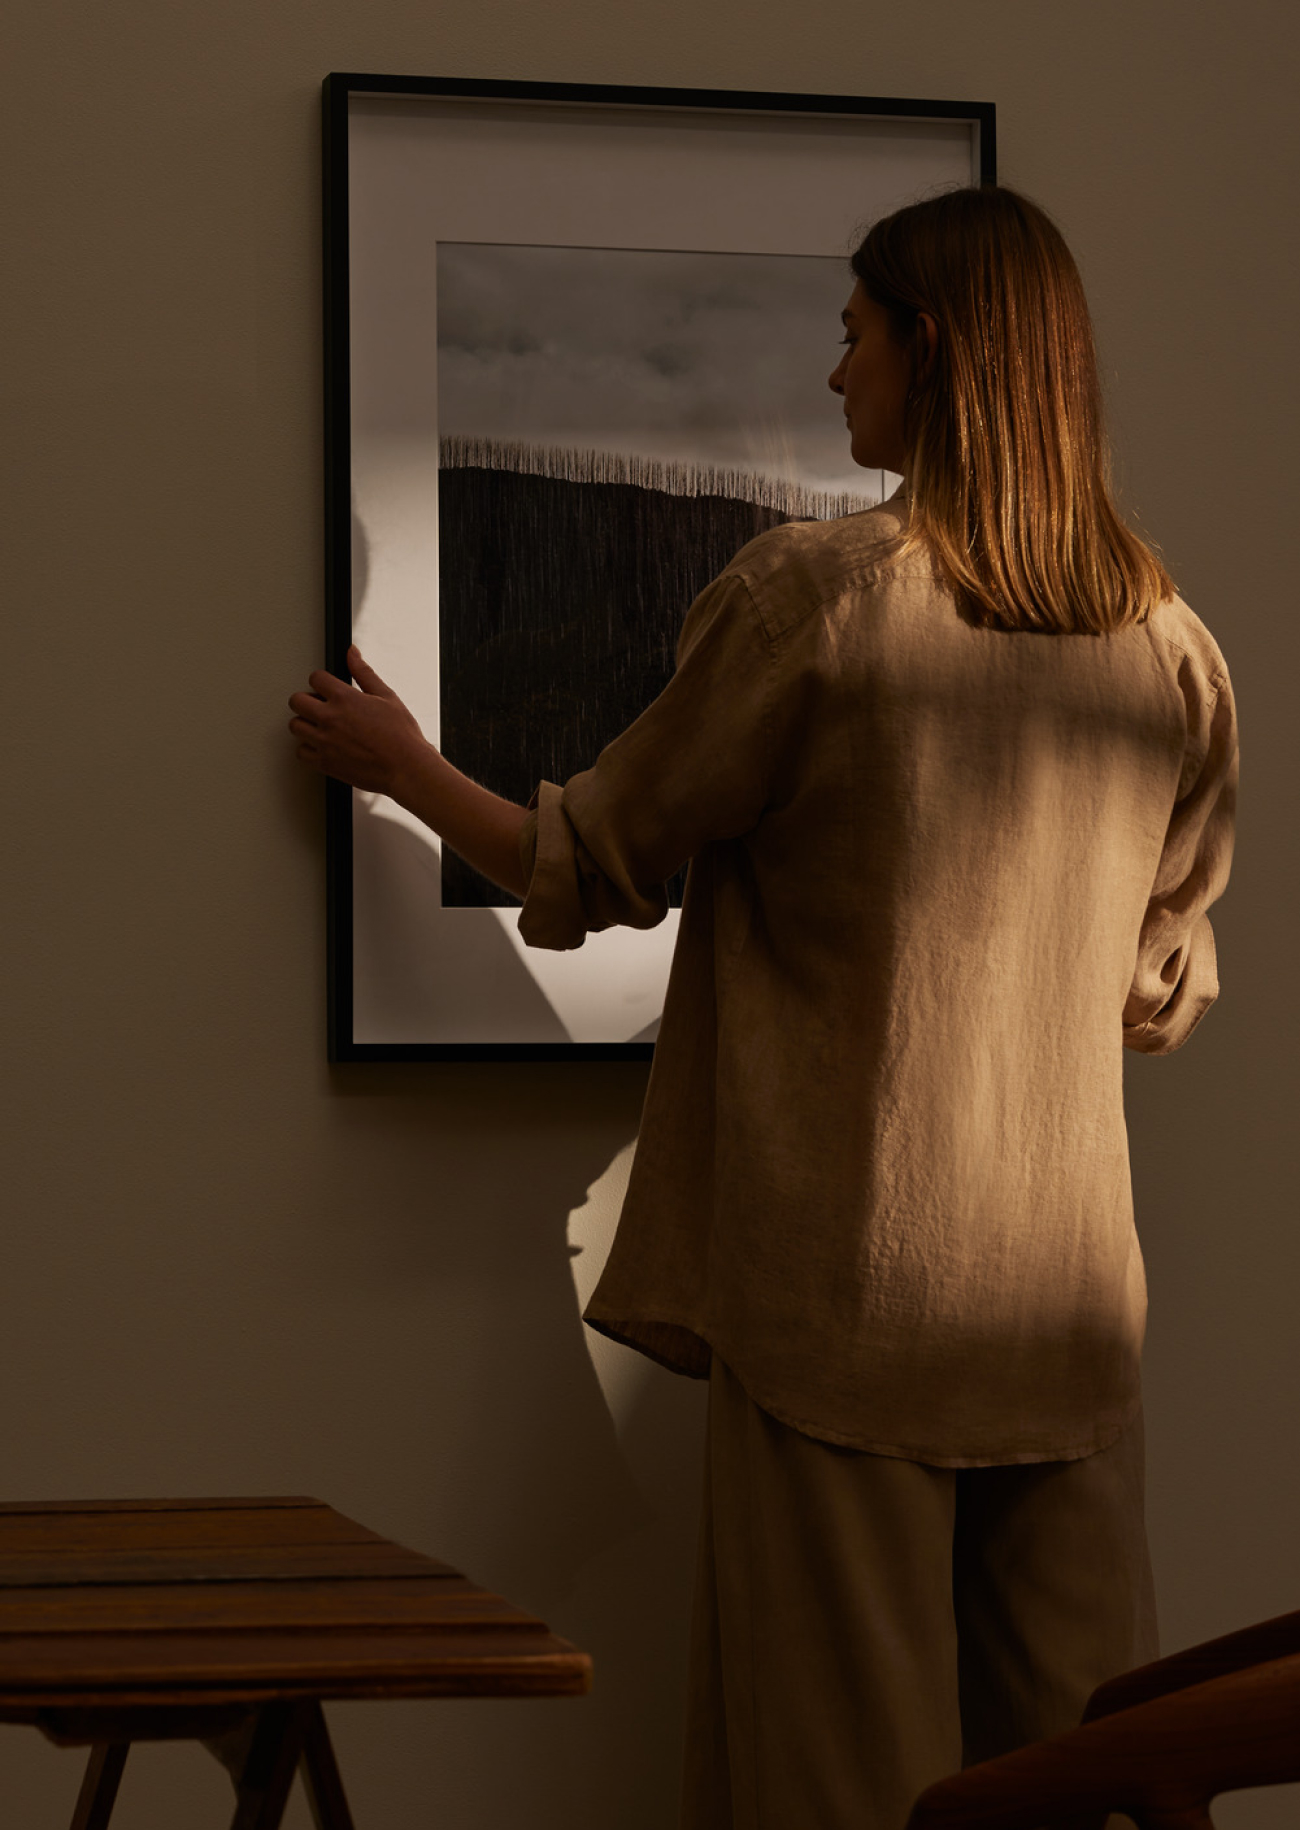
- Hang your frames using the spirit level to ensure frames are straight and parallel. Again, step back to see the overall effect of the various images together and make adjustments until you achieve the desired look.
Helpful Hints
- Frames can be installed with 3M velcro tabs but we do recommend nails or screws for extra support for larger frames.
- A spirit level will ensure all frames are straight and parallel to each other.
- Gallery walls can be made up of different frame types, finishes and sizes. Consider mixing Country Road frames with your existing collection, and other focal points such as clocks, shelving and so on.
- You can determine your composition on the floor first so that you have a clear idea of the layout you wish to achieve.
- Make it as personal and fun as you like—mix family photographs with holiday snaps, prints and kids’ drawings.
Shop frames


